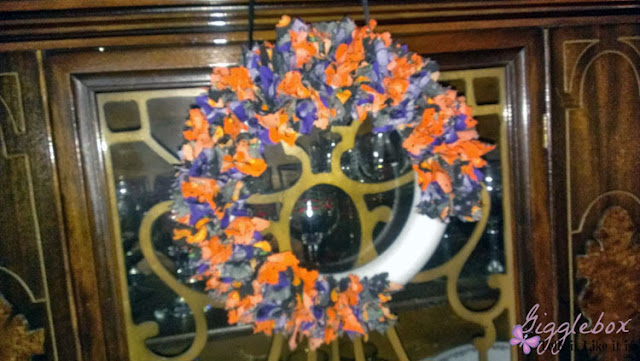
Halloween fabric wreath
Many years ago I had made the wreath on the left in Girl Scouts and over the years, the fabric had started falling out. So, I decided that I would just redo it. I went to our new Hobby Lobby and bought the circle foam on the right which was the smallest size they had. When I got home, I learned that it was bigger than the original. I knew that I wouldn't have enough fabric to cover the new wreath so, I went to our Jo-ann Fabric and Craft Store and bought half a yard of Halloween fabric.
I first took every square fabric piece out of the original wreath. After looking over the original squares, I noticed that there really wasn't a set dimension. I decided to go with one that was closest to what the original squares were (2 1/2 inches x 3 inches). Now time to start cutting out squares from the new fabric.
After I cut out a handful of squares from the new fabric, I took the ribbon off the original wreath. Since there was nothing wrong with it, I tied it on the new foam wreath so I had something to hang the wreath with. I then began putting the fabric squares in the foam. In order to put them in, I used a small Philips screw driver by placing the tip in the center of the square and then pushing the fabric into the foam. Sometimes I would twist the screw driver to make sure the fabric was secure. There's no real pattern and the squares don't have to be really close either. The fabric will flair out a little, but if you do see some white foam coming through add a square or two in that spot.
I was almost half way done with the wreath and was slowly running out of the original fabric, but had plenty of the new.
Got this far with the original fabric. What to do? It wasn't like the original wreath was done earlier this year, it was done about 20 years ago! No way I was going to be able to get the very same fabric.
Went to Jo-Ann and looked through their "scrap" fabric section and found this black Halloween fabric for $1.00. I cut up the new black fabric into the same dimension as the purple fabric. I then started pulling out some of the orange and put the new black squares in their place to help even out the colors.
The final look! Now, just need to find a place to put it. You can do this for any season. I know that I had made some Christmas ones for gifts the same year I made the original one.


0 comments