Pumpkin Witch
I'm always looking for new ways to decorate the house for Halloween. Several weeks ago, I saw a video on Facebook where they stacked three plastic pumpkins and made it into a house number for the front porch. I decided to do my own spin on that idea. Here's how I did just that.
You'll want to buy some type of black spray paint, I went with a paint and primer matte black paint, and three of the trick-or-treating pumpkins.
Take two of the pumpkins and paint them with the black paint.
Set them aside and let them dry. Once dry, you'll want to clip the handles off.
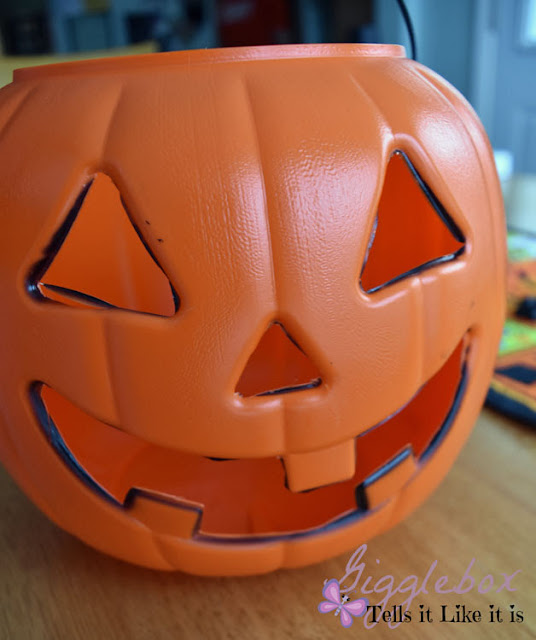
While the other two pumpkins are drying, you'll want to cut the eyes, nose, and mouth out of the third pumpkin. Now, I had originally thought about getting a green pumpkin for the face since witches are normally depicted with a green face. Jon thought that it would look better with the regular orange pumpkin, but you can go with whatever color you want as well as the face design.
The face all cut out. You don't have to cut out the face if you don't want to. I thought it would be cool to have the face be lit up with purple lights.
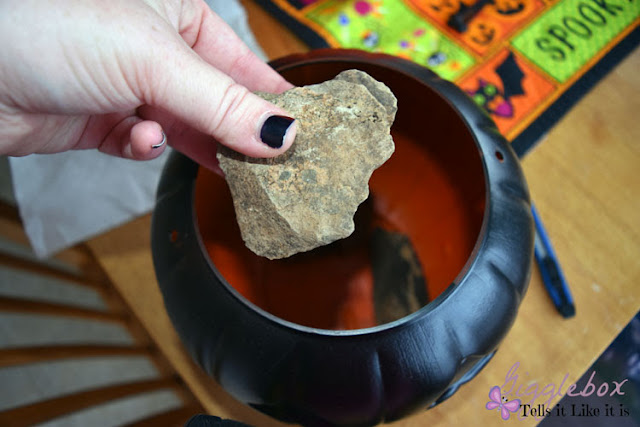
Once the other two pumpkins have dried, you'll want to put something in the bottom pumpkin to help weigh it down. I put three fairly decent sized rocks in there and it still was not enough for the winds that we've been getting.
You want to make sure that water won't get into the bottom pumpkins and since the handles have been cut off, there's holes on either side of the pumpkins. With a hot glue gun, fill in the holes. This will help make sure that no water will get in.
Stack the other black pumpkin on top of the weighed down pumpkin with the faces facing in the same direction. With your glue gun, you'll want to glue the two pumpkins together. I found that pressing the top pumpkin down helped the gluing process. You could then put a light coat of paint on the two pumpkins and let dry. I didn't think about doing that until everything was completed.
You'll want to do the same with attaching the orange pumpkin. Except with the one, the face will be aligned with the backs of the black pumpkins.
Since I was adding lights to the top pumpkin and also would be adding a hat to the top, I need to be able to add or remove lights. I cut a hole out of the back that was large enough for the end plug of the strand of lights.
I glued a witch's hat that I got from the dollar store to the top of the pumpkin. I also decided to glue back the circle I had cut out to help keep light in, but still made it so the lights could still be removed. I just glued the top part of the circle to the pumpkin.
Here it is all lit up at night.
I didn't have time to find a little broom to add with it, but I think it turned out rather well. What would you do to enhance it? If you've given this a try, share your picture with me on Facebook at Gigglebox Tells it Like it is, Twitter at @WVUGigglebox, and Instagram at @wvugigglebox.
Tags:
Halloween


0 comments